How to: Paint a wooden floor white (before and after) Monday, Nov 29 2010 

This weekend the ‘man’ and I tackled a project that we have been putting off for months.  It’s quite unlike me to procrastinate as I love getting stuck in (in case you hadn’t noticed!) but this was different…  It involved moving out of my beloved bed for a week.  And my bed is my comfort, my haven, my refuge. 

paint wood floor white

The floor in our bedroom is wood veneer.  This is a really popular choice, but it often looks cheap (well it is cheap).  And it wears really badly.  Rather than pull it all up and start again, we decided to paint it.  We’d already done the sitting room, which you can see here, so I knew what we were in for.

The most arduous part of the whole process was moving the furniture out.  In the end it took us less than an hour, but it’s a hassle!  And you have to find somewhere to put it all..

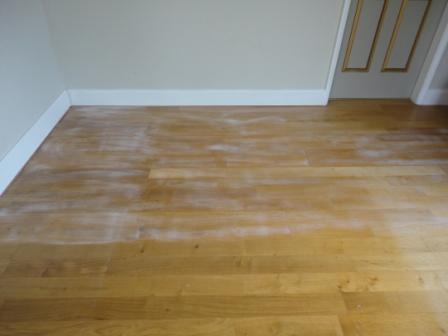
sanding wood veneer floor before painting

This time I decided not to get the floor professionally sanded first.  Why not?  Well, I suspected it wasn’t necessary before painting.  It might well be needed if you were going to revarnish.  Last time I paid someone else to sand the living room floor before we painted it (it’s a rare thing that I don’t do it myself).  I had heard horror stories of the weight of the sanders, of holes ground in floors through a momentary lapse in attention…  but it was very expensive to get someone else to do it.  I didn’t want to have to pay that if I didn’t have to!

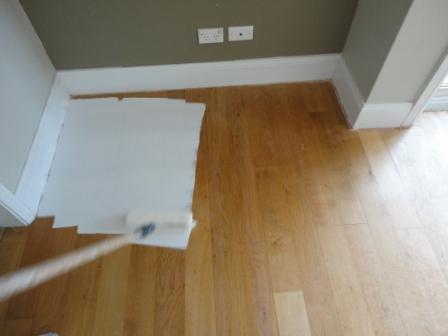
So I used a hand-sander, plugged it in and went over the floor quickly with that.  You can see in the photo above.  This was then washed off with sugar soap.

white paint wood floor veneer how to

Once the floor was prepped, I primed it.  Which brings us to the question of which paint to use.  In the UK or US you’ll have a lot more choice than here in Australia.  The first decision is whether to go oil-based or water based.  Water based paint is far less toxic, both in production and in terms of the fumes it gives off.  However, it isn’t as durable or tough as oil-based.

The only paint I could find that was designed for floors was oil-based.  In fact, it is a 2-pack preparation, like most floor varnishes.  This means it comes in two parts which you mix together.  You can’t buy it pre-mixed as it hardens quickly.  I also wanted a white that wouldn’t yellow over time, which this paint is.  I primed the floor first and then started painting.

painting wood floor white during

I applied the paint with a roller attached to a broom handle, so it was quick and easy.  The painting itself took less than 30 minutes.  I always hate the prep work – it takes so long and you see nothing for it.  Actually painting is FUN!

It needed a day between coats (without cats adding their paw prints).

high gloss white floor paint wood

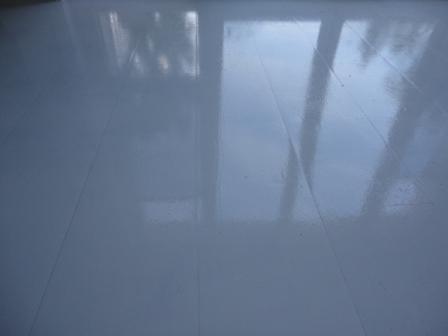
The paint I used is high gloss – and I chose it because a high gloss floor can make your ceilings look higher.  Yes really!  The reflections in the glossy surface trick your eye into seeing depth and therefore believing the distance between ceiling and floor is greater.  You can do the same by painting your ceiling in gloss, although I am yet to try this…

Here is the floor before:

sanding wood veneer floor before painting

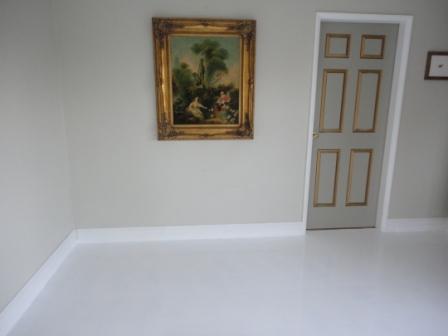
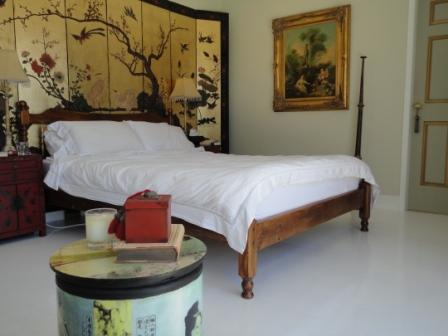
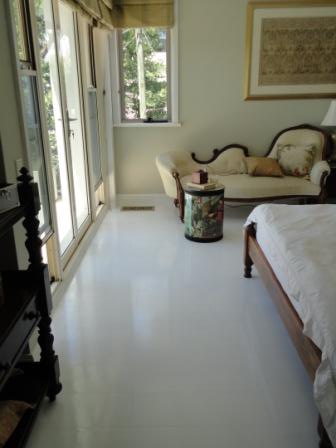
And here it is painted white:

wood floor painted white

It’s amazing how much it upgrades the room.  Immediately the space look more chic, more clean and somehow more classic.

We’re not at the end yet though.  They recommend leaving the paint for a week before using the rooms again.  While the floor is dry – it is still ‘maturing’ and giving off the VOCs that are now getting bad press.  I was absolutely ITCHING to get back in there.  I wanted to make it look beautiful and sleep in my bed (which was dismantled in the garage) straight away.

gloss white painted wood floor veneer

The difference changing your floor makes is huge. Light bounces off this surface and a new colour or texture will alter the illumination of the room.  A white gloss floor has a similar effect on the light quality to newly fallen snow (for those of you in the northern hemisphere).  There is a crystalline purity to it, which I adore.

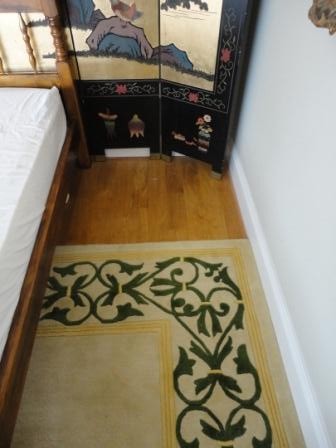
paint wood floors white before

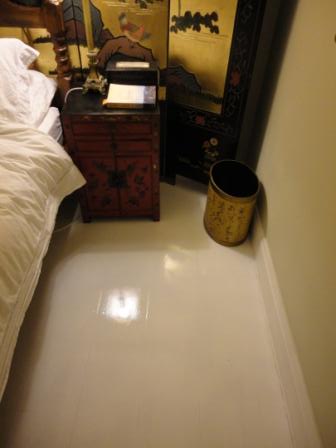
Here is the view beside the bed before and after.  I decided not to put the rug down as it’s summer here and the white boards feel airy and cool.  The rug can go back down for the milder months in May.

white floor painted gloss white veneer after

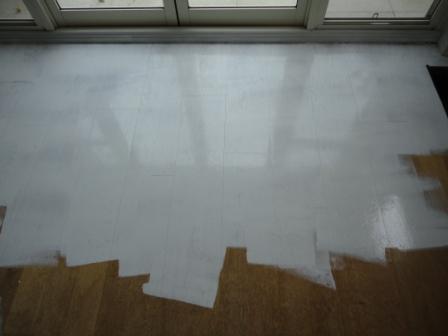
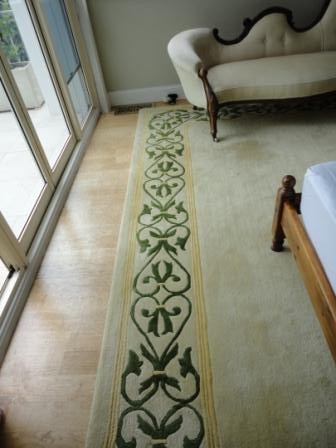
Similarly you can see beside the window:

white floor painted gloss white veneer before

and after

white floor painted gloss white veneer before after

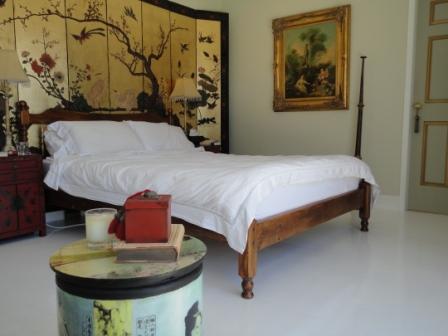
The whole room looks cleaner, brighter and timeless.  I’m just thrilled with the results.

white floor painted gloss white veneer classic

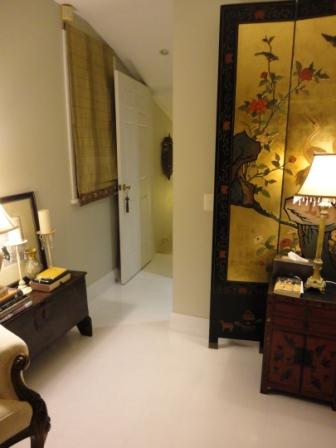
It looks beautiful by lamplight as well as in the sunshine.   As for showing the dirt – white floors are far more forgiving than black, where all the hairs and dust show up immediately. 

white floor painted gloss white veneer classic2

Back at last in my lovely bed.  Although I could hardly bear to close my eyes as the light from the full moon crept from behind the blinds and stole across the snow white floor.
White beauty and inspirations Thursday, Nov 25 2010 

I love white – it is one of my favourite colours. Form and texture stand out in white – so here is my rhapsody to the pearly shades.  (As usual on this blog – I try to recycle furniture rather than other people’s images.  These are all my own).

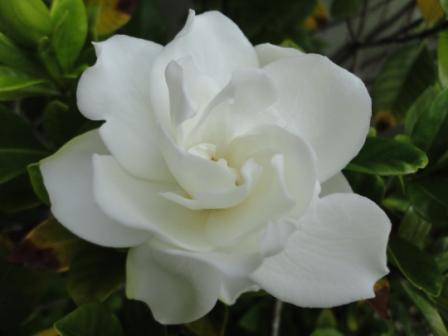
There is a pure beauty in a white flower that is unlike any other

white gardenia flower

The first Gardenia appeared in my garden on the same day as this gorgeous Magnolia flower.
Magnolia Little Gem flower

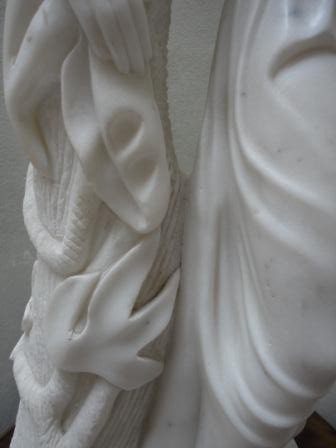
The wistful gaze of a marble statue adds an air of mystery and contemplation to a room…  I saw her grubby and neglected in the corner of an auction room and fell in love.
marble statue

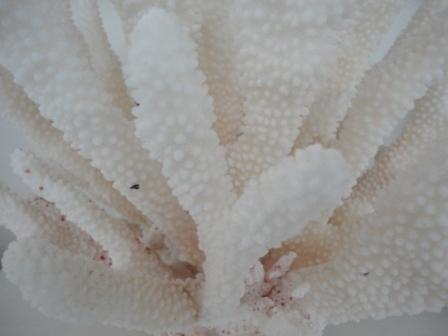
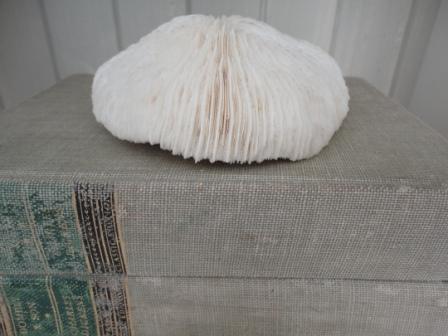
The texture and depth of white coral with its nubbly surface intrigues and beckons.

white coral

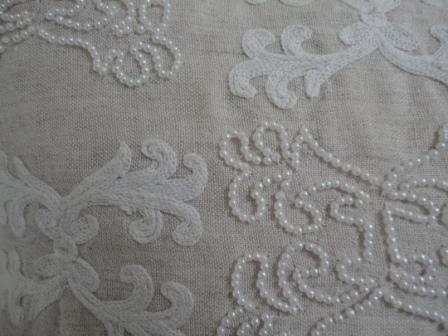
White pearls and embroidery on a natural linen cushion have a timeless elegance.

white beading and embroidery cushion

Carved white stone vines and leaves summon forgotten stories and ancient gardens.

white carved marble

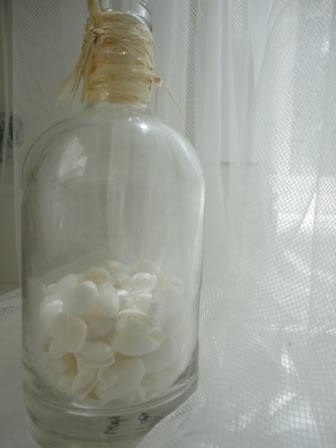
White shells captured in an old bottle, with sun filtering through net  recall beach holidays and relaxed summer hours.

white shells net bottle

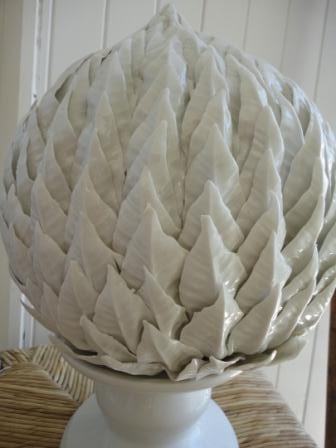
The complex texture of a ceramic artichoke against white wood boards

white ceramic artichoke

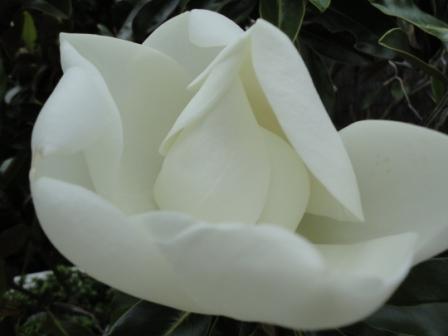
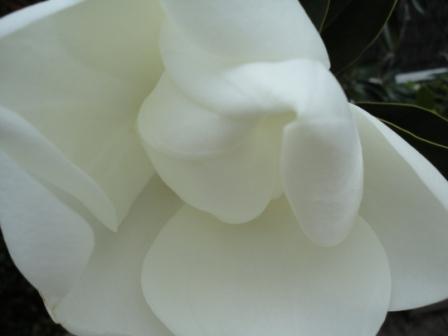
A newly opened magnolia bloom is a thousand miles away from the ubiquitous ‘magnolia’ paint colour.

White magnolia flower

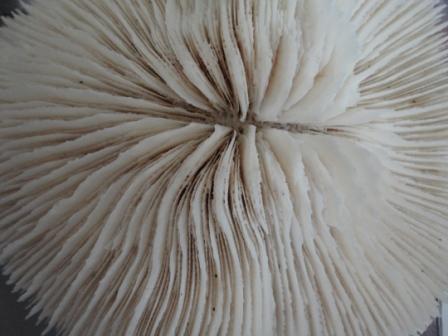
The flower-like burst of a white coral shell

white shell

White crystals clustering in a rough geode

white crystal gem stone

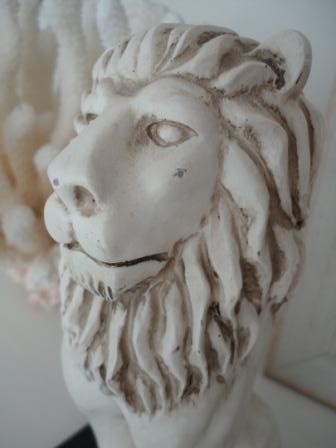
The regal poise of a carved white lion with his steely glare.

carved white lion

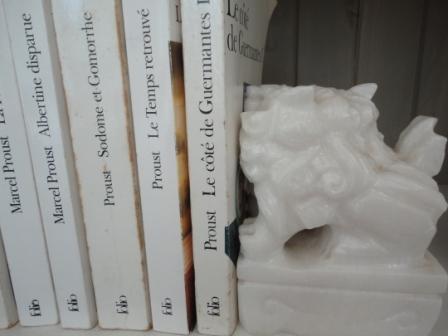
White paperbacks with a carved white stone bookend

white books stone book end

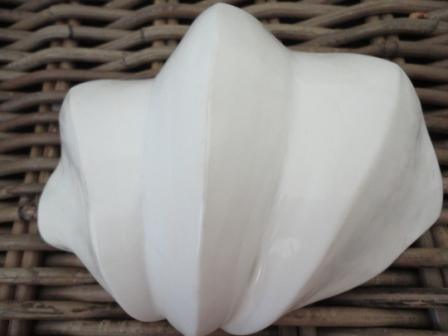
A pure white shell on an old wicker basket

white shell on wicker

What’s your favourite colour?  Do you have enough of it in your home?

How to get that French provincial country look Wednesday, Nov 24 2010 

You can spend hours trawling through photos of a ‘look’ you love, and still not quite know the best way to achieve it.

This series of posts cuts out the work for you, and breaks it down into the elements you want.

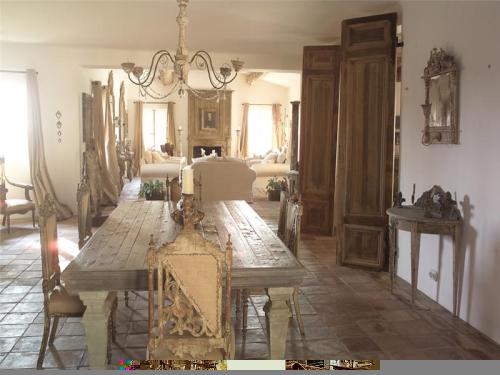
 The French provincial look is hot right now.  And no wonder – it looks relaxed and welcoming.  It feels as though families have lived there for generations, laying down memories, reading books in the shade, eating on the terrace beneath ancient vines: an idyllic contrast to our stressed and technological lifestyle.

Here are some easy ways to get that look in your own home.

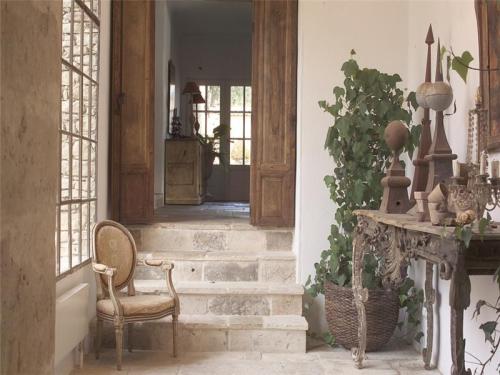
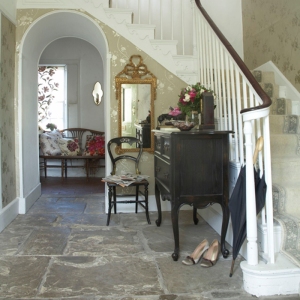
Flagstones

Flagstone floors conjure up images of fairytale cottages, of boots piling the entry of manor houses, of a life lived outdoors. 

Using these on your floors can hark back to times gone by – just make sure they look slightly worn.

Floorboards

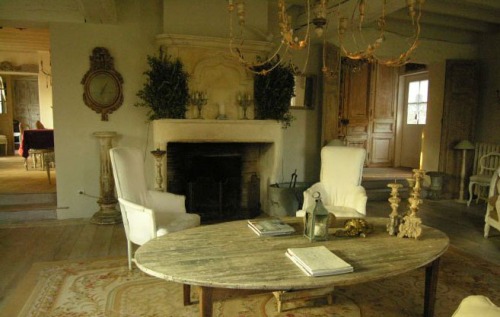
If flagstones aren’t your thing, floorboards can add the patina of age.  Steer away from new floating floors and neat edges and choose recycled wood with marks, dents and a rich colour.

If you want a softer look, you can lime them – this gives them a silvery glow, as though worn smooth by the feet of generations.

Mismatched furniture

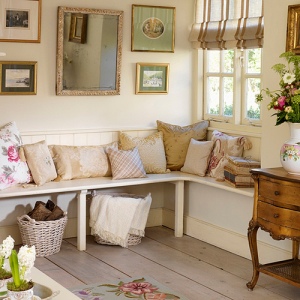
French houses collect furniture through the generations.  Chairs are bought over the centuries and the variety of styles adds to the charm.  This is not a style that calls for a three-piece suite.

Wood kitchen

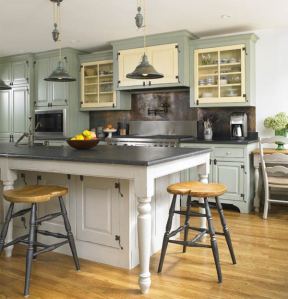
Baking bread over a fire, arranging flowers from the hedgerow, sipping hot chocolate from a bowl (the french way) – all in a stunning kitchen.  Eschew the stainless steel and formica for natural wood.  Freestanding dressers and pine tables or cabinets built-in local wood create the homely atmosphere for long lazy lunches.

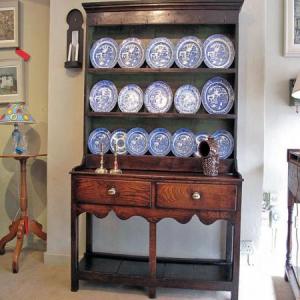
Fill free-standing dressers with sets of old crockery – in french blue or rose and white.

Florals

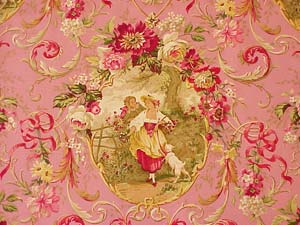
While chintz may be English, soft florals look so pretty in a french cottage.

french floral fabric

Soft colours

chaise francaise

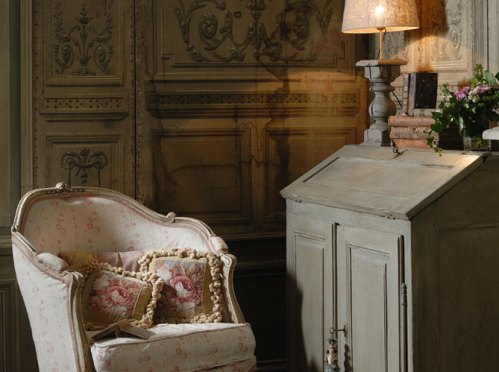
Keep colours as soft as the light at dawn.  Blush rose pinks, and grey blues, add touches of sage green or a little yellow to give it a lift.  White should be muted too – no harsh pure white here, but a chalky hue.

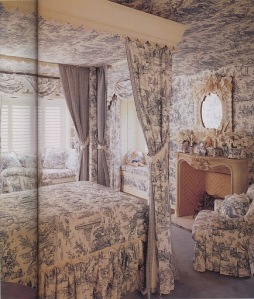
Toile de jouy

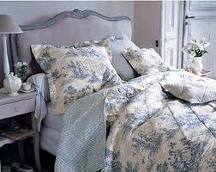
Toile de jouy is the ultimate french fabric – its monochomatic palette and timeless design is fabulous in almost any room – and certainly makes this theme sing.  You can cover a whole room in it, or use it for cushions or curtains.  It goes beautifully with a stripe of the same colour.

Old french doors

Many architectural salvage yards now have old doors.  Replacing your doors with a pair of these, or even propping them against a wall will add immediate character to your room.

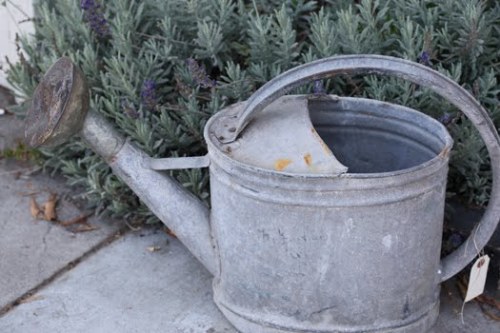
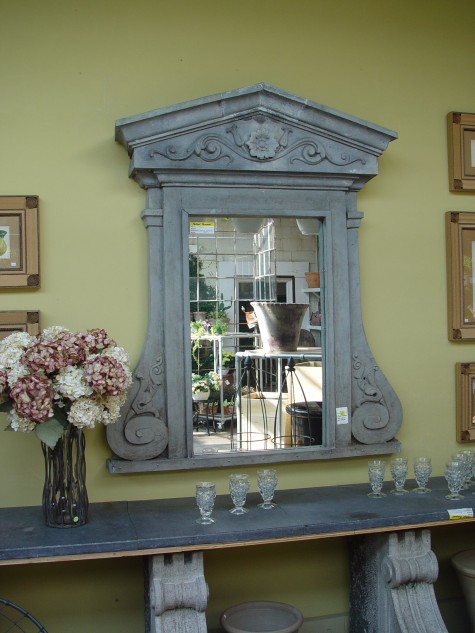
Zinc and Iron

Old zinc and iron furniture really hits the mark with this look.  The more battered the better.  Add urns filled with flowers, old books and hand-blown glass.

Even if a watering can is all you can afford – it’ll still do the job…

Lastly, pile your home with lavender, rosemary and olive branches – all the beautiful silvery boughs that flourish in the warm sun and sandy soils of France.

Deliciously scrumptious low fat muffins! Monday, Nov 22 2010 

I really enjoy baking and I love eating cakes and biscuits fresh from the oven.  However, I also enjoy fitting into my jeans, so I often play around with recipes to reduce fat content without losing flavour.

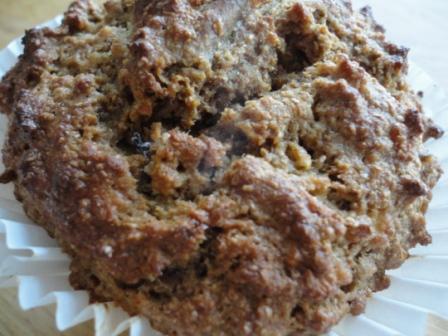
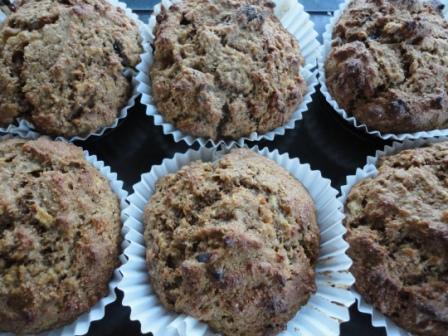
These muffins are just divine!  They taste so good that you won’t believe they are healthy.  I just had to share them with you. 

delicious low fat apple allbran muffins

Firstly preheat the oven to 175C.

Ingredients (for 6 muffins)

1 cup Kelloggs Allbran

0.5 cup skim milk

o.5 cups wholemeal self raising flour

0.3 cups brown sugar

0.5 teaspoons salt

0.5 teaspoons cinnamon

0.5 teaspoons bicarbonate of soda

0.3 cups of raisins

One large apple, grated

One egg

1 tablespoon oil (optional -but helps the muffins stay fresh)

Mix the Allbran with the milk and leave to soak for a few minutes, while you grate the apple and get everything else together.

Then just mix all the ingredients together.  You could replace the raisins with cranberries if you prefer, or with nuts – although these would not be low fat if they had nuts in.

The oil is optional – if you are being really strict about low fat then skip it.  I’m not so strict, and it does help the muffins last more than a day (fat free cakes generally don’t keep – they go stale or mouldy very fast!).

Then bake in muffin tins (I line mine with little paper cases as it’s just easier) for about 20 minutes.

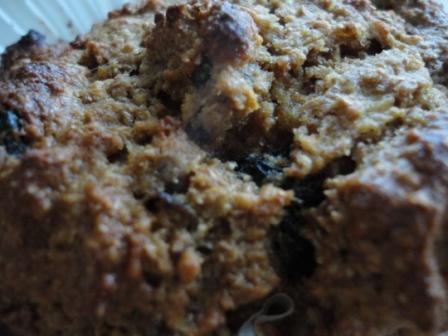
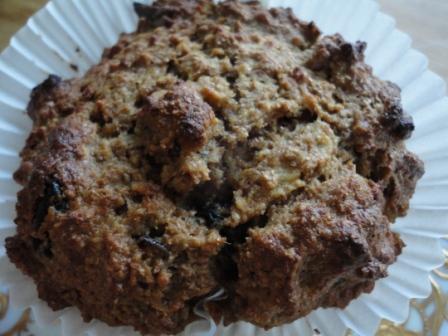
Delicious apple bran muffins

Allow to cool a little before eating.  If you can.  We actually just ploughed straight in – they were so good!

Low fat muffin

Can’t you almost taste it?

Apple allbran healthy muffin recipe

Leather bound books – the new ‘must have’ accessory Thursday, Nov 18 2010 

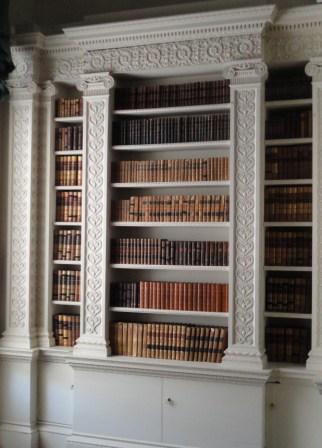
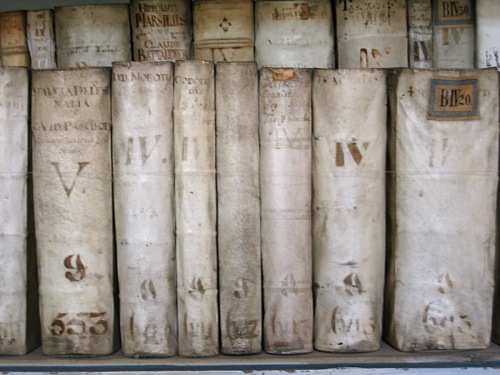
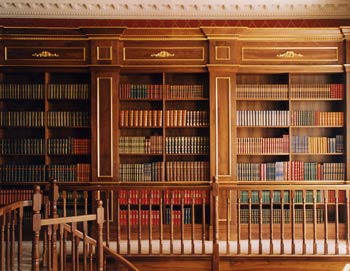
Ancient library leather bound booksMedia rooms are so last year – as soon as everyone has one, they just aren’t cool.  The new fashion in houses is to have a library.  Even people who admit they don’t read, once they are possessed of wealth, are building whole rooms filled with books.  But not just any old books – not Mills and Boon, or Dan Brown… No – these rooms have the ancient hush of tooled leather tomes, the gleam of gold on parchment, the serried ranks of intellectual prowess and history.
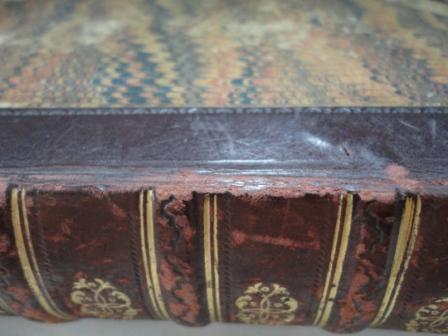
leather bound books

This delightful series of the history of the world was written prior to World War One.  It’s main focus (in true Victorian style) is on the character and moral rectitude of historical figures.  But what a handsome series.

leather bound marbled book

A tiny volume of Milton is leather-bound with exquisite marbling on the cover.  It is a delight to hold.

red leather books

Vintage volumes of fabric and leather books, embossed with gilt titles look magnificent on shelves.  The faded texture of old books, in sage greens or wine reds look wonderful in almost any room.

Fabric books

Even worn paper covers can add something…

faded vintage books

It’s time to frequent those second-hand book shops and stalls and look for the exquisitely produced books of yesteryear. 

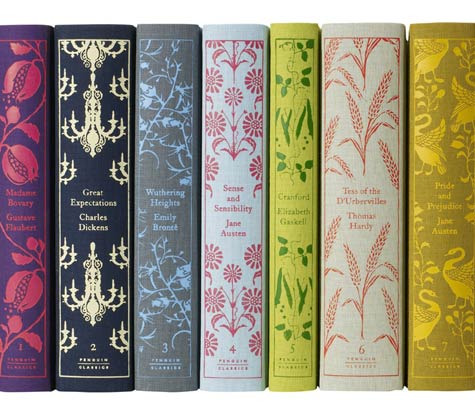
If you really aren’t into vintage, publishers are cottoning on to this trend.  Penguin is offering some beautiful editions of classics, in leather or in gorgeous covers.

These would make such lovely Christmas presents…  You can search on Amazon and find a stunning array of newly published classics in lovely covers.

And if this is all too much for you – you can even wallpaper it on.  Brunschwig and Fils were the first to do this with their Bibliotechque wallpaper, but now many companies are doing it.  The photo below is wallpaper – not books!  How much fun would this be in a toilet?  As long as they were supplemented with some real reading matter….

An antique screen before and after Wednesday, Nov 17 2010 

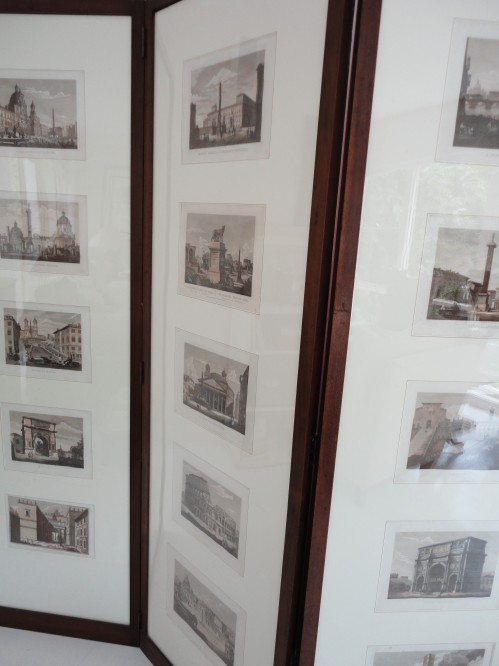
I just fell in love with this antique screen.  Each panel has five engravings of Rome, exquisitely mounted and framed.  It’s so chic and elegant.  And although screens are usually considered slightly feminine (so that one can throw one’s lacy underwear over it as one disrobes discreetly behind) – this one is delightfully masculine.

Recycled antique screen prints Italian

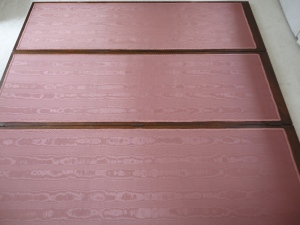
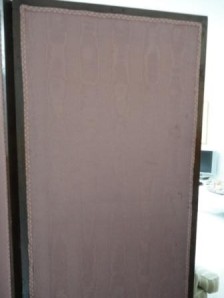
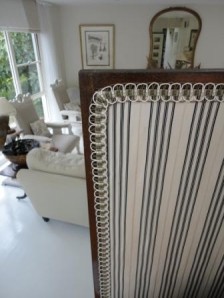
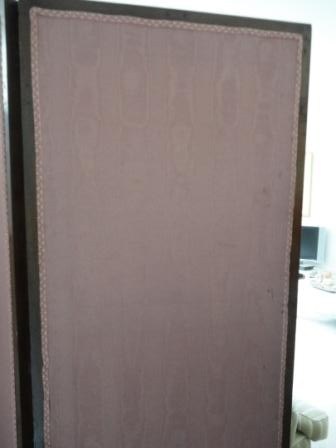
Its reverse however, was a different story.  Unlike people, where having two faces is never considered attractive, part of a screen’s beauty lies in its ability to have two different sides.  Ideally these should both be gorgeous – mildewed pink taffeta wasn’t what I had in mind.

Antique Pink screen before recycling

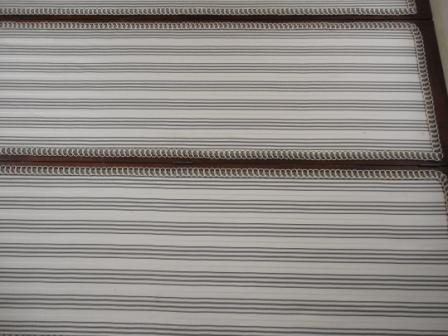
This is really easy to fix on a screen.  Firstly, lay it down and rip off the binding that is concealing the edge and its construction.


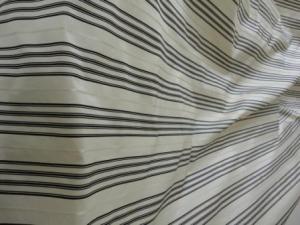
In this instance, each panel could be removed from the back.  Then you need to select your fabric.  I’m using some fabric I have left over from these chairs.

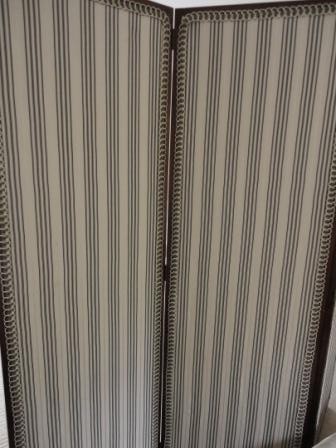
I like the way the colours match the front, and the way it is also a fairly masculine strong stripe – I think it links well with the other side.

Silk taffeta fabric for recovering reupholstering furniture

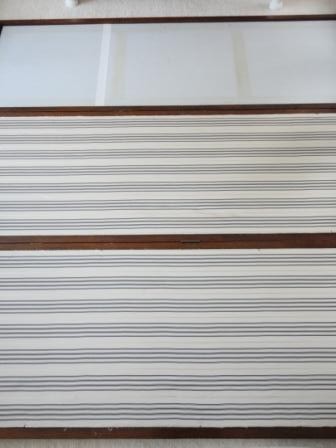
reupholstered screen vintage silk

As the silk was quite crushed, I ironed it first (you can’t do this after you have attached it!).  Cut each piece to overlap each panel and then staple it round the back, pulling it as tight as you can, but ensuring (in this case) that you don’t pull unevenly and make the stripes go wiggly.  Above you can see two of the three panels covered.

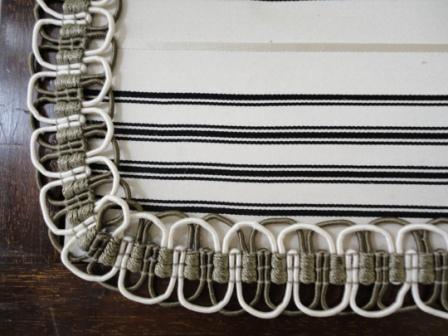
trim on silk reupholstered screen

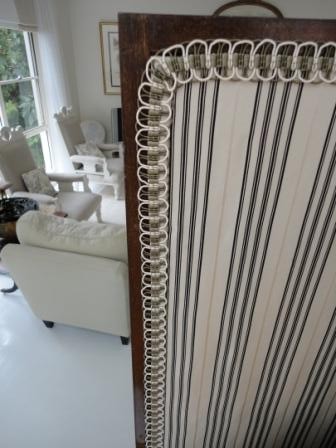
Then glue on trim to hide the join.  If you stapled fabric straight on the back – then the trim should hide this too.

recovered antique screen doesn't cost the earth

Make sure you press the trim down as the glue is drying, especially when you’re going round corners.

recovered screen after

Often you can see the rear view of furniture in a room.  It really pays to make sure that it looks good from every angle.

silk screen reupholstered recycled

Just a reminder of the mildewed silk before:

mildewed silk screen before recycling

Doesn’t it look better now?

recycled furniture silk screen after

Why a screen is a fabulous investment Monday, Nov 15 2010 

screen behind bed

Folding screens were very popular last century – they kept out drafts, hid doors that servants used, provided a discreet area for ladies to disrobe….  And they were often beautiful works of art.

Nowadays, we have other methods for keeping out drafts, few of us have servants (although there are days when I could really use one!), and most of us aren’t so shy about getting our kit off…. so what would you do with a screen?

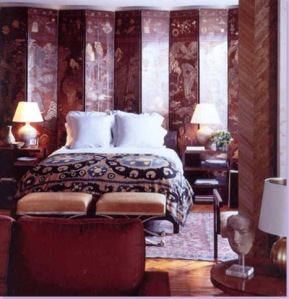
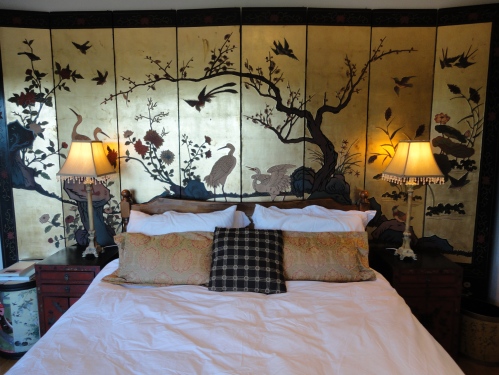
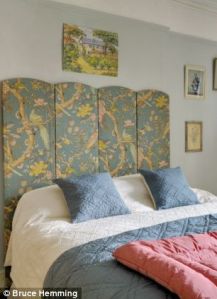
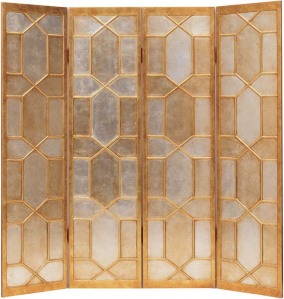
Screens are a stunning way of framing a bed.  We’ve had discussions on using large artwork above a bed here – and a screen does it all for you….  You can get them covered in a fabric which tones with your bedroom colours.  Or you can go all out, such as the gold screen I used above – which injects real glamour into the boudoir!

You can actually make a screen very easily – just cut plywood to size, and cover each panel with batting and then fabric, and hinge them together.  On Wednesday I’ll show you how to recover a screen from scratch.

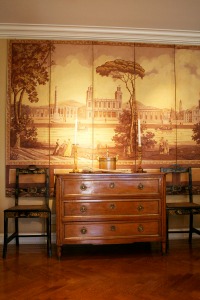
Screen on wall

Screen can be hung on the wall like art – but because they are large, they can fill some of the featureless and huge walls that some houses have.  They can imbue a room with such a different character, depending on their look.  I love the antique depiction of a river and a city above.

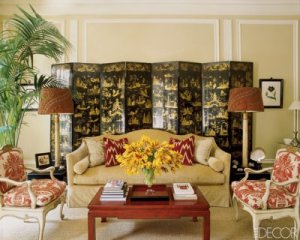
Screen behind sofa

Screens are also great ways of framing a sofa or couch.  It feels cosy to sit in front of one, and the seating arrangement looks much more inviting.  You can use it to add a sense of grandeur, depending on the style of the screen.

Some can act as room dividers in today’s open plan living – giving you a flexible way of changing your room around. 

And because they fold up, you can always pop them up against a wall when you don’t need them.

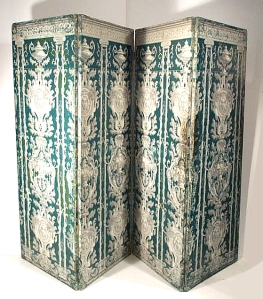
They come in every conceivable look – from antique wall-papered examples, to the art-deco gold and silver one above.  Oriental screens are usually covered in gold or silver leaf and then painted.

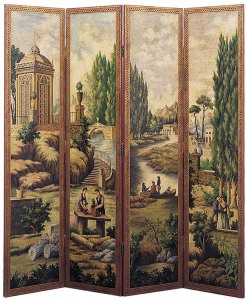
Other have a mural-type painting on. 

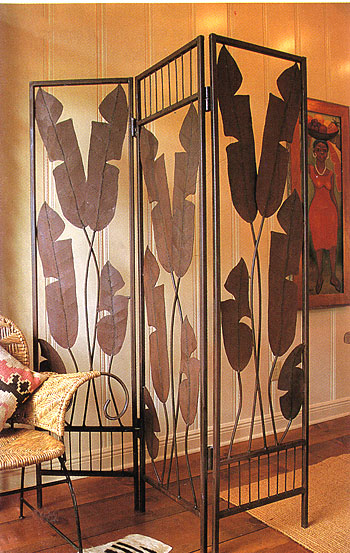
You can create a mood with a delicate filigree Moroccan style:

On Wednesday, I’ll be recovering this mildewed pink taffeta with something much more exciting!

mildewed silk screen before recycling

Watch this space!

How to: arrange flowers in your home Friday, Nov 12 2010 

doesnt cost the earth rose

Flowers can really lift a room.  And they can lift your mood as well.

But once you get them home – what do you do with them to keep them looking fabulous?

recycled rhodedendron

Firstly, cut all of the stems again.  This keeps the cut fresh and allows the flower to continue to draw up water.  You should do this every few days if you want your flowers to last.  You’ll probably need to cut them to length, but even if you don’t – just take off 0.5cm.

Spanish Rose

The fashion for very ‘arranged’ flowers has passed – it can look very dated – just have a look at the arrangement below:

Instead – you want to look as though you just ‘threw’ it together.  But just as an outfit is never just ‘thrown’ together, and just as the ‘nude’ make-up look needs as much work as one that shows – so it is with flowers.  If you just jam them in a vase, they will sit all wrong.  Place them in one at a time, looking at where you need more height, colour or interest.

If you add an aspirin or flower-food to the water, that can make them last longer.

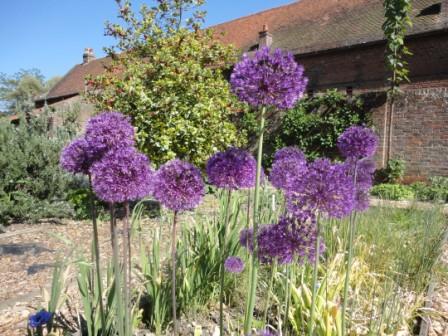
Aliums in England

Ideally, keep your colour scheme to a single colour.  It will look more dramatic if the arrangement is entirely yellow, or pink:

For even more ease, keep to the same flower in the same colour.  These miniature pink roses are just gorgeous on their own.  This makes them very easy to arrange.

minature pink roses arrangement how to

Carnations, while they have a reputation for not being glamorous, can last up to four weeks if you keep cutting their stems and changing their water.

White carnations

When choosing the colour of your flowers, they can either match your decor and look like part of the room.  Or you can choose a contrast and make a feature of them.

how to arrange flowers

You can always mix it up!

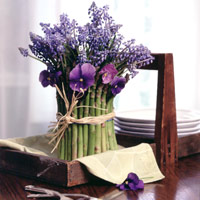
If your budget doesn’t run to flowers, then go out and pick branches and leaves.  You can play with fruit, seed pods and leaves and create a wonderful and interesting arrangement.  Asparagus makes a wonderful way to conceal a vase…

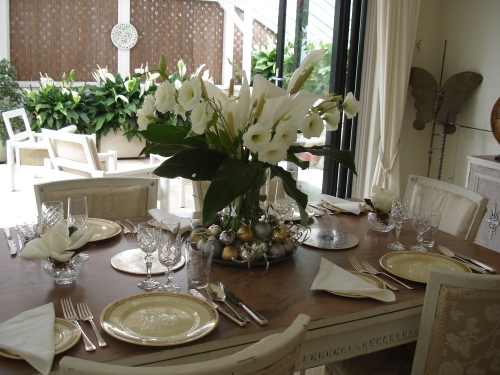
I created this tablescape using flowers and leaves that I picked from my garden.  It’s a mixture of lilies and their leaves, and magnolia flowers.

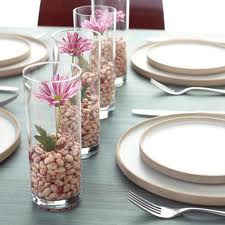
Another simple way to create impact with flowers is to place each bloom in a separate, matching vase or jar, and have a wonderful repetitive element.  This looks great as a table centrepiece or on a mantle.

Maybe you’ll treat yourself to flowers this weekend?

If not, I hope you’ve enjoyed my photos of the wonderful roses and rhododendrons of Spain and England from last summer.

yellow rose

How to: Make your own Micro Green Salad Wednesday, Nov 10 2010 

A few weeks ago I had an incredible salad while on business in New Zealand, consisting of microgreens.

These are a new and trendy (and utterly delicious) alternative to boring old lettuce.  Basically, they are little seedlings, harvested once the first set of leaves begins to grow.  Just the thing to grow on your window sill….

Soaking seeds for micro greens

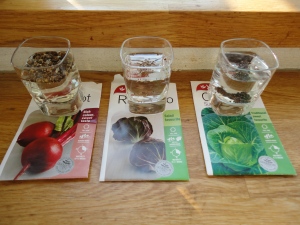
First of all I soaked the seeds overnight in water.  This helps them germinate quickly and easily.

Then I lined a couple of trays with newspaper, which I wetted.  I covered this with about 3cm of potting mix.  I scattered the seeds on top and the put another 0.5cm of potting mix on top.

Easy!

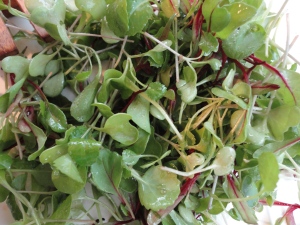
Micro greens for a salad

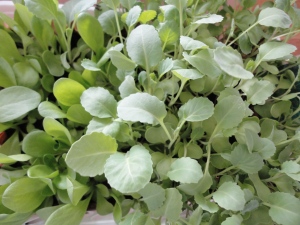
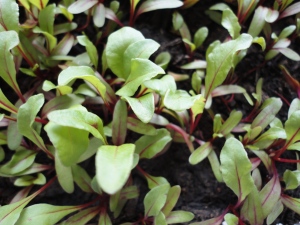
I put them on a sunny windowsill, and made sure every day they were moist.  And in a few days they had sprouted!  That’s beetroot below, and cabbage in the photo above.

Beetroot microgreens

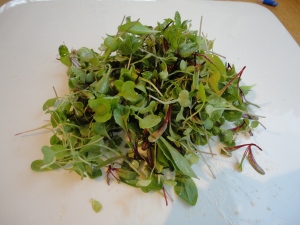
It took another couple of weeks before the actual leaves appeared.  You don’t want to harvest them when they first sprout as those are the seedling leaves.  You wait until the first pair of real leaves appear (as in my photos) and then you snip them off with scissors and scoff them!

Micro green salad

They are all beautiful and young and tiny and tender.  Delicious little leaves that melt in your mouth.  Clearly they are organic!  (I don’t spray pesticides in my kitchen, and I’m guessing you don’t in yours).

Just toss them in a little dressing and enjoy.  I used extra virgin olive oil, and a caramelised red wine vinegar.

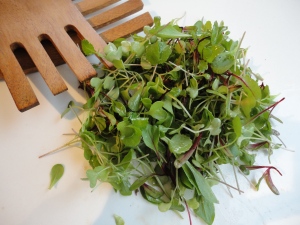
Microgreen salad organic

They are unbelievably sweet, tender and tasty.  Like the salad version of candy floss!  Of course you can buy them – but where’s the fun in that?

Organic microgreen salad

This is such a great project to share with children.

Finally: the dining room after Monday, Nov 8 2010 

I love dining on holiday – those long languorous meals, the relaxed settings that make you want to sit and chat for hours….  So I changed my dining room around to get more of that feeling.

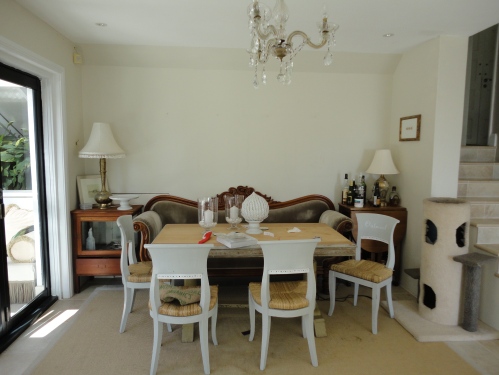
Initially the table had been in the middle of the room, which didn’t work as there are too many passageways that meet in this room: two stairs, the kitchen, the laundry and an outside area all enter this space.

I had studied how we used the room (the secret to the best interiors).  I always sat with a cookery book and a cup of tea.  So I needed a comfy chair.  Then when we had one, the ‘man’ had nowhere to sit.  So we decided to shape the room around how we use it.  

Dining room before

I divided the room into two – a seating area, with a sofa (as I thought that would encourage people to sit and chat) and some chairs to sit and have tea and read cookery books.  There was a lot of work.

I had already redone the chairs and the table (see older posts):

dining chair before recycling

Chair after painting

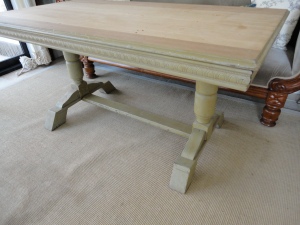
Dining table before

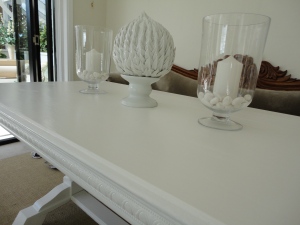
recycled dining table after

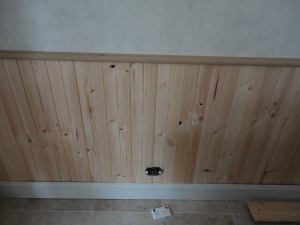
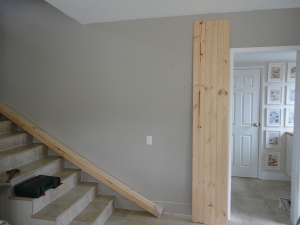
We built the tongue and groove panelling to conceal the door under the house (which was never used) and to create a cosy feel for the dining nook (a while back now for those of you who’ve been following!)

installing tongue and groove panelling

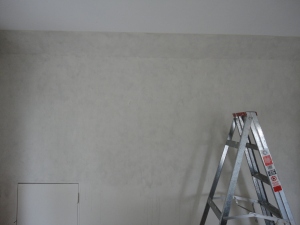
I added a colour wash paint effect to the wall above.  Remember how I stepped in the paint and spilled it everywhere?

Colourwashed distressed wall

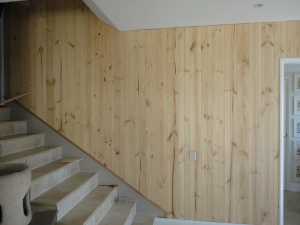
We added tongue and groove down the stairs

Tongue and groove up the stairs

This was a massive project and it took the two of us a whole (exhausting) weekend.

Tongue and grooving the stairs

So a reminder of how it was before – well actually, part way through as the chairs etc are done….

Dining room before

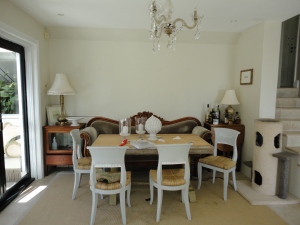
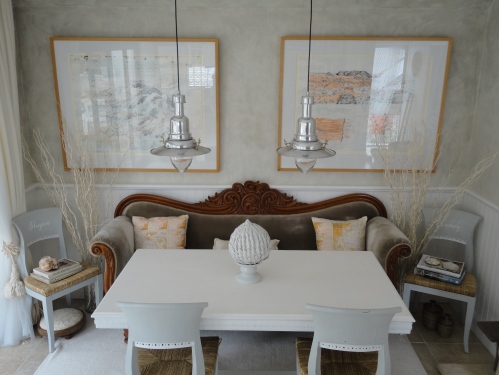
And here it is after – in all its glory.Doesnt cost the earth Dining room after

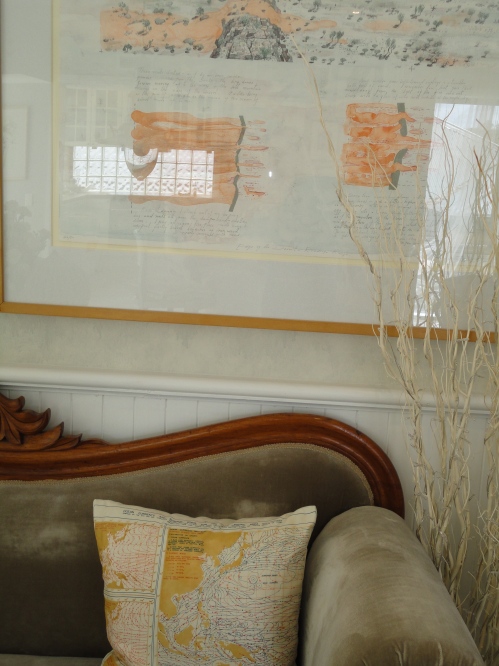
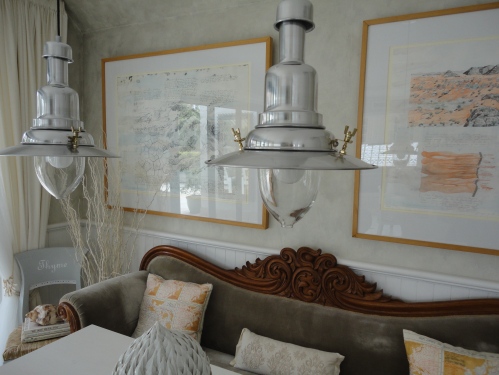
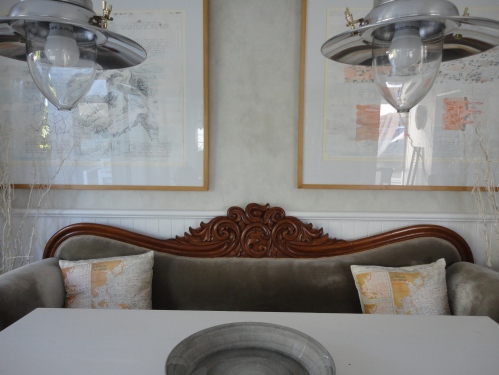
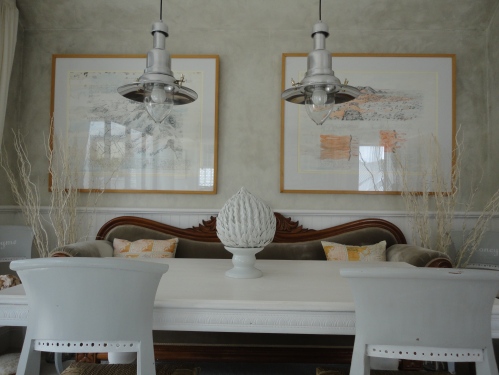
The sofa is an inherited piece (yes – these can be worked into your rooms!) recovered in silk velvet.  I wanted a seating arrangement that would encourage long rowdy meals!  A sofa invites you to stay awhile and chat – so I used this to create a banquette arrangement. I always love sitting in booths in restaurants and this is a little bit like that.

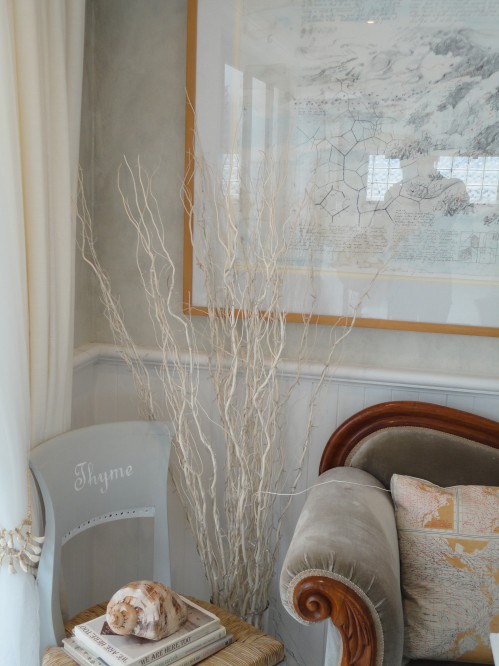
The cushions are World War Two silk escape maps (I have some of these for sale if you would like).  They pick up the casual sketching of the artwork – of the Australian outback.

organic recycled dining room after

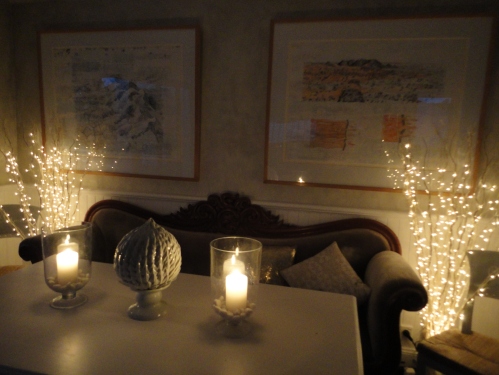
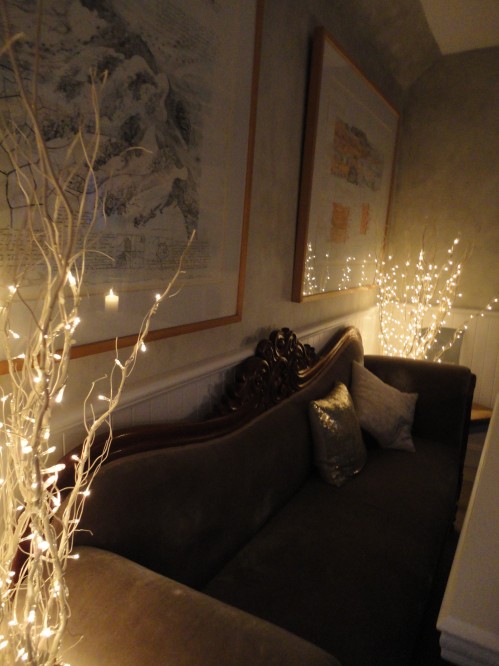
At either end of the sofa are twig lights – yes – these actually light up!  I’ve shown this further on.  Aren’t they gorgeous?  They help soften the corners of the room, and their organic outline is echoed in both the paintings and the cushions.

dining room banquette after

The pendant lighting helps to define the area as separate.  I wanted a nautical look and these pendant hurricane lamps are perfect.  Can you believe they are from IKEA?

Pendant lighting over banquette dining nook

I chose bulbs at first that were too blue in light (a common problem with eco bulbs).  It’s really worth getting the lighting colour right as it changes an atmosphere immediately.

pendant lamp banquette dining

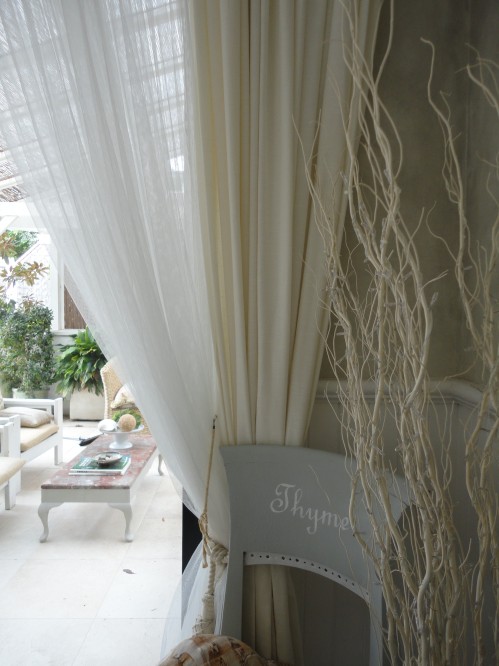
I layered two curtains – but the heavy linen one doesn’t close.  It serves two purposes – one is to create dramatic vertical lines from floor to ceiling to make the room look taller and more elegant.  The second is as a sound baffle to make the acoustics more pleasant.

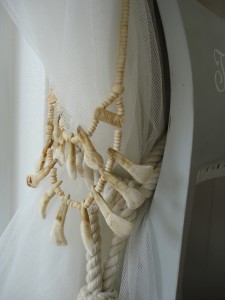
bone necklaces and tassels on muslin curtains

The muslin curtain does close and is caught back with an old bone necklace.

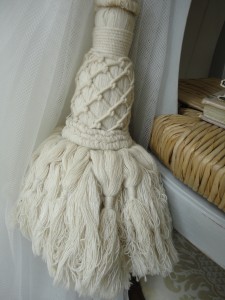
cotton tassel muslin curtain beach chic

A simple cotton tassel pulls the two curtains back together, softening the lines and adding texture.

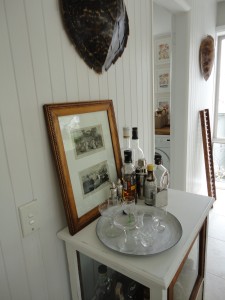
tongue and groove wall, tortoise shell

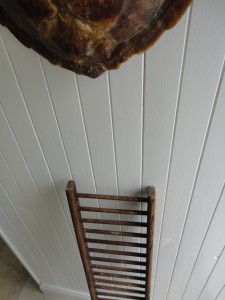
On the new tongue and groove wall, two tortoise shells frame the doorway into the Laundry.  One sits over the newly refurbished drinks cabinet.  The other has an antique miniature ladder running up to it.

tortoise shell

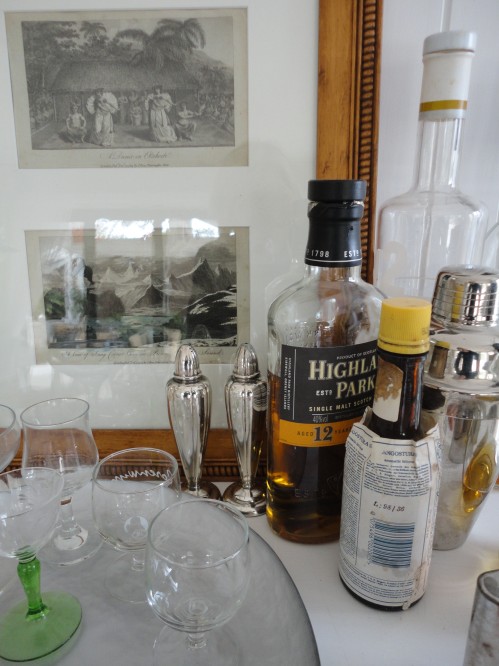
The top of the drinks cabinet entices with antique engravings, a selection of bottles and silver.  Together with the tortoise shells they create a mood of travel, exotic places, beaches and other wonderful conversation topics.

Doesn't cost the earth interiors

Opposite the banquette dining nook are two armchairs (you can see them recovered in previous posts) and two spare dining chairs.  A lovely spot for a pre-dinner drink or a cup of tea.  I spend time here mulling over what to cook!

recycled interiors chair parisian art

The double hanging curtains add texture and softness to the doors that lead out to the terrace.

muslin and linen curtains texture

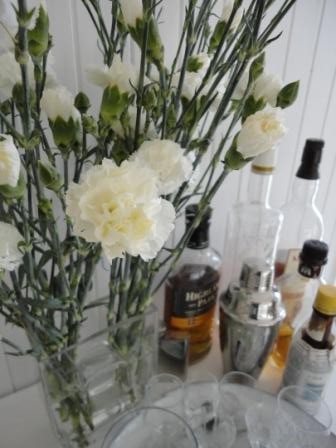
For dinner parties you can really create an atmosphere with lighting.  The twig lights immediately create a party with their fairy light frivolity.
romantic lighting schemes dining

On the banquette sofa you are surrounded by the soft glow of fairy lights – it feels quite magical!  The colour wash effect helps create a feeling of age and character in this modern house.

mood lighting for dining

It’s been a huge amount of work – but really worth it.  The most important part of the whole process was having a complete vision of the final product all the way through, so that all decisions and changes led to a cohesive look.

Banquette dining after

Have you been inspired by holiday to change a room?

Next Page »